
How adorable is this little nightie!? And guess what? I made it!! I am so excited to be writing this turtorial on how I made this nightie. I have been sewing since I was in Jr High but I have only recently tried my hand at clothing. This being my second garment I've made and we know how the first one turned out! lol (vintage-dress-fail) So the other day I was nursing Matty and surfing the internet and thought I need something new; maybe new pajamas. So I typed in "baby doll nightie" and I came across a this little number by Bernie Dexter.
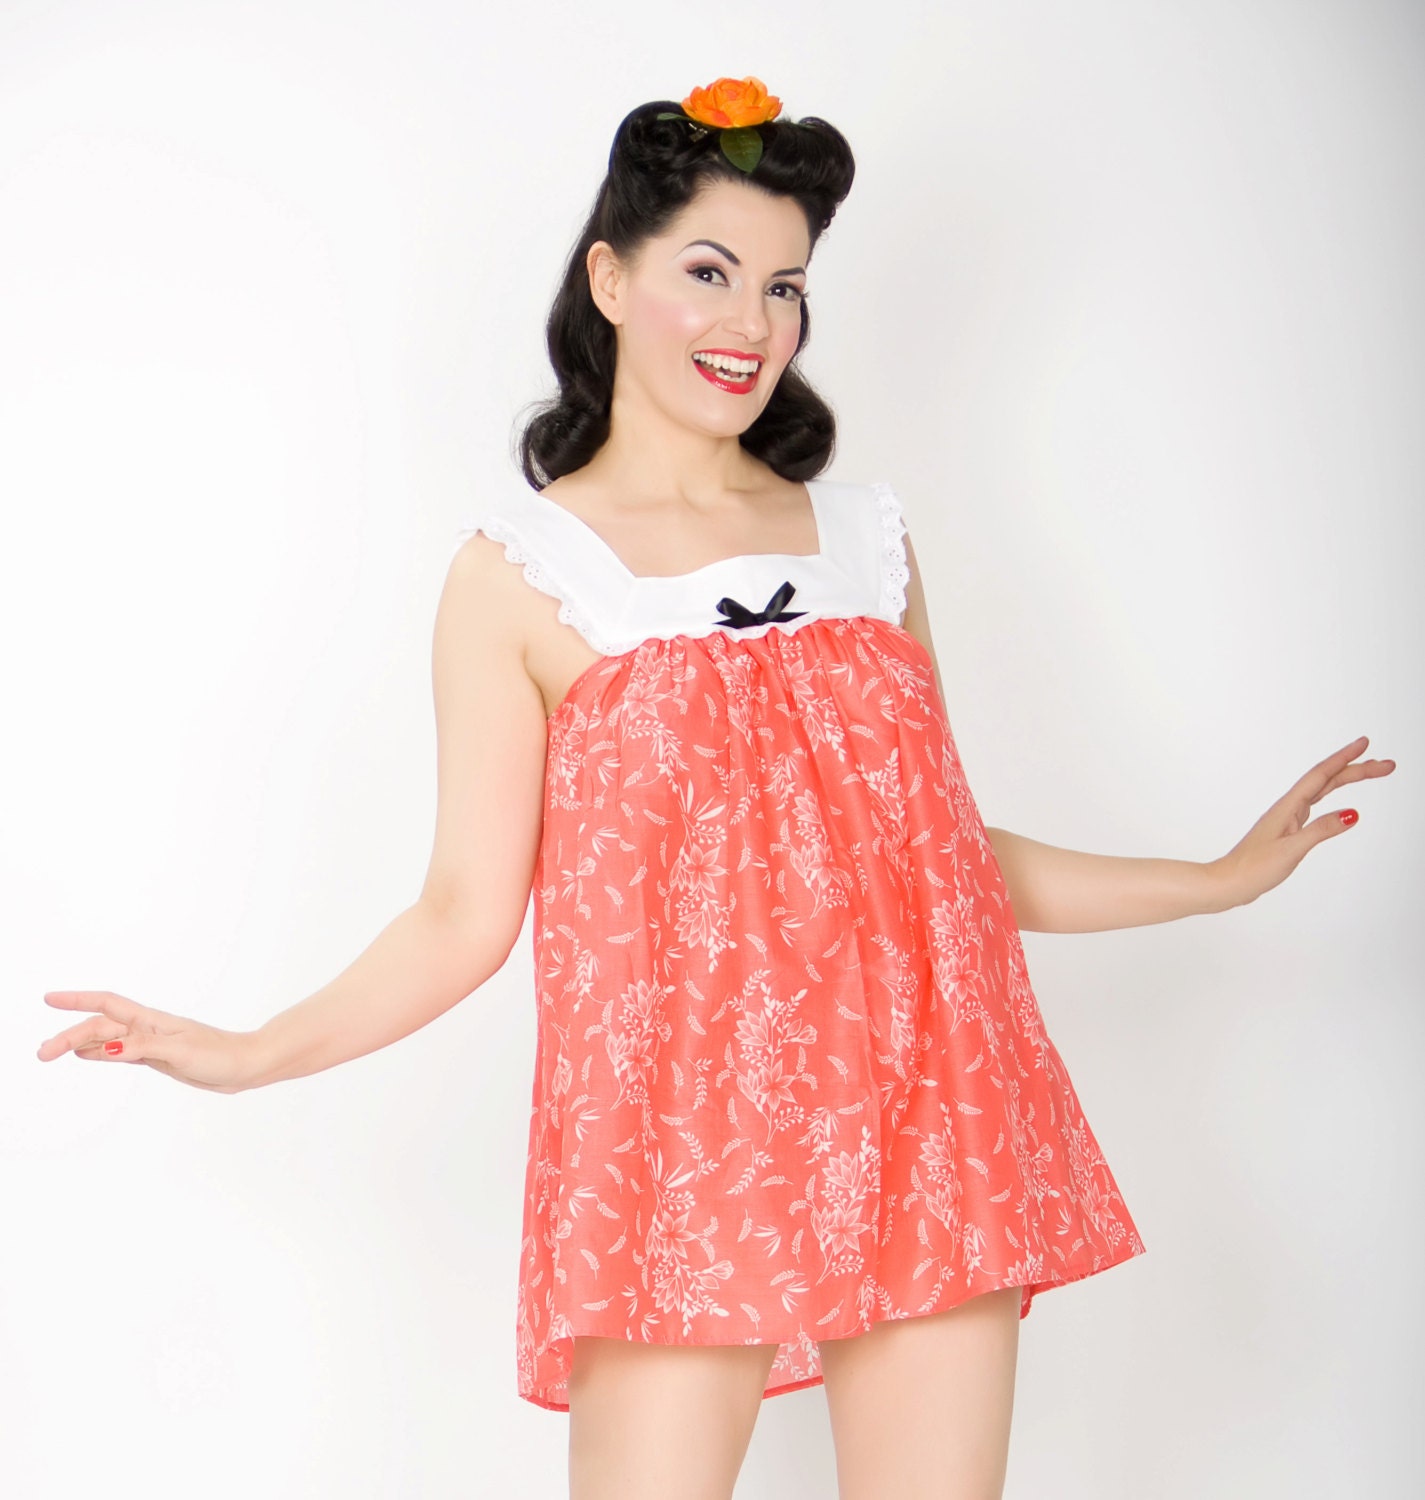
As I was taking a look I thought now that doesn't look so hard to make so off to Joann's I went! It really is a simple design I cut two pieces to be the front and back in an A-line.

I cut the armpit holes and they turned and really wonky. I was able to fix them when I hemmed around the curve but that is something I'll have to play with and do differently next time.

Then I stitched the two sides together. I was so happy to use my "new-to-me" serger.

Then I hemmed around the armpits and the bottom.

Figuring out the top was a bit tricky. I was contemplating on doing a mitered corner around the neckline. After playing around with it I found the easiest way is to cut the neckline at a 45 degree angle and sew the straps right behind.


When I was done with the top I went back to Joann's to get more fabric to make the bloomers. I was disappointed to find they were out of the fabric I used, so I bought some cheap muslin which turned out way better than expected. I am going to wait to show you how I made the bloomers until I get a nicer fabric. But here's a teaser I used the free downloadable pattern Madeline Mini Bloomers (madeleine-mini-bloomers).

I sure had a blast sewing my nightie and this time I feel a real sense of accomplishment!
No comments:
Post a Comment